LDraw Pattern Editor issue
2018-03-09, 3:52 (This post was last modified: 2018-03-09, 3:57 by ShireBrickz.com.)
2018-03-09, 3:52 (This post was last modified: 2018-03-09, 3:57 by ShireBrickz.com.)
Hi users and thanks in advance for my newbie question.
I'm new to the group so i hope this is a suitable section to post.
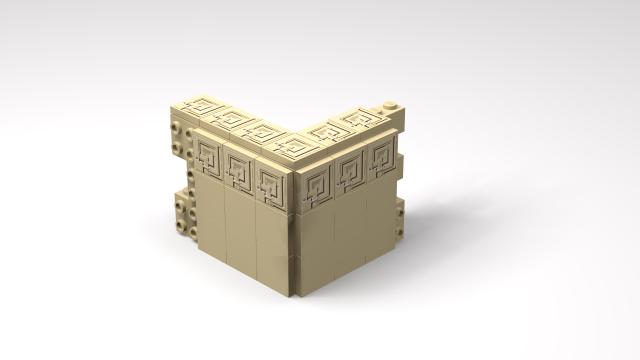
I have created a patterned tile (3068b) using Ldraw Pattern Editor and the provided part template.
Having completed my desired pattern and exported the file as a .dat file, I have then put the .dat file into Bricklinks Stud.io software following this guide.
The individual part now loads correctly and renders nicely but within the Stud.io environment my newly created patterned tile only wants to connect and align to the rear of the front edge of the piece, not the rear of the tile as one would expect. It's still usable but very slow as every tile needs to be aligned by hand rather than snapping into place.
Have I missed something required in exporting the part to .dat, is there a known issue with the LD Pat. Ed. templates or something else all together? Any and all help appreciated.
Cheers
Adam

I'm new to the group so i hope this is a suitable section to post.
I have created a patterned tile (3068b) using Ldraw Pattern Editor and the provided part template.
Having completed my desired pattern and exported the file as a .dat file, I have then put the .dat file into Bricklinks Stud.io software following this guide.
Quote:Re: Custom Parts
[url=http://forum.bricklink.com/viewtopic.php?p=2238&sid=786117d04d8e474e4f62b00aece95ed4#p2238][/url] Tue Dec 12, 2017 5:50 am
Hi, we currently support custom parts in .dat file format and below is a tip on adding custom parts to your local Stud.io app.
Please note adding custom parts other than guided below could cause glitches.
How to add custom parts
1. Go to the Stud.io folder of the installed directory and click ldraw folder (Stud > ldraw)
2. Create a new folder under ldraw and name it as Custom Parts
3. Create another folder under the folder Custom Parts and name it as Parts
4. Add your custom parts under the Parts folder
> A new folder “Custom Parts” will appear under My Folders upon restart of the app
*Please do not make random changes to the existing categories or directory. It could cause unexpected glitches.
Hope this helps and if you have any questions, please do not hesitate to reply

Folder location:
MAC:
Users > YOUR USERNAME > .local > share > Stud.io > CustomParts
(Note: to see the hidden folders in your user folder(.local), press Shift+Cmd+>.)
Windows:
find it under \Users\{UserName}\AppData\Local\Stud.io\CustomParts
Hope this would work!!!!
The individual part now loads correctly and renders nicely but within the Stud.io environment my newly created patterned tile only wants to connect and align to the rear of the front edge of the piece, not the rear of the tile as one would expect. It's still usable but very slow as every tile needs to be aligned by hand rather than snapping into place.
Have I missed something required in exporting the part to .dat, is there a known issue with the LD Pat. Ed. templates or something else all together? Any and all help appreciated.
Cheers
Adam


