This is actually very easy with LDCad (each time I try something new with it, I'm amazed by its flexibility!).
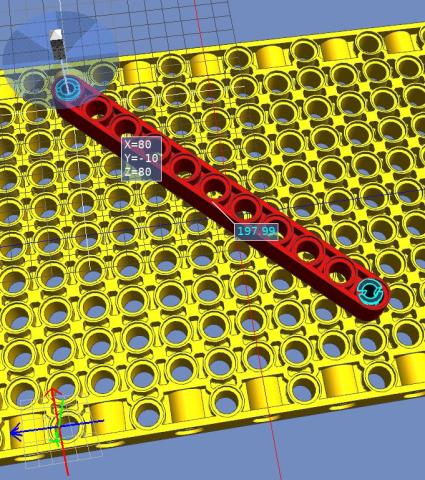
Lets start with this example: two pins placed 7 studs apart in two directions almost fit a diagonal beam 11 since 7²+7² ~ 10². (Just tested, it works well IRL!)

Distance of holes in the beam is exactly 200 ldu, while distance between pins (as measure by LDCad) is only 197.99 ldu. So we need to scale beam by 197.99/200 = 0.98995 (here it could also be calculated as 2x7²/10² !)
Select the beam and press "o" to use relative grid. The great thing is that in this mode, the part that was used as reference has a very simple "identity" matrix, all 0 except on the main diagonal where values are 1. These "1" are actually the scaling of the part in relative x/y/z directions.

Since the length of the beam is oriented along blue Z axis, we'll need to change that third "1" on matrix diagonal.
Right click again on the beam, choose properties, change Z scaling.
 scale3.JPG (Size: 42.59 KB / Downloads: 153)
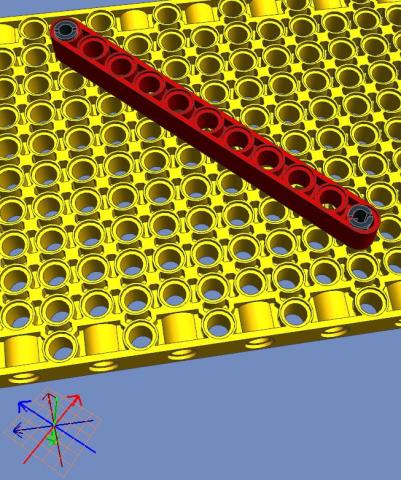
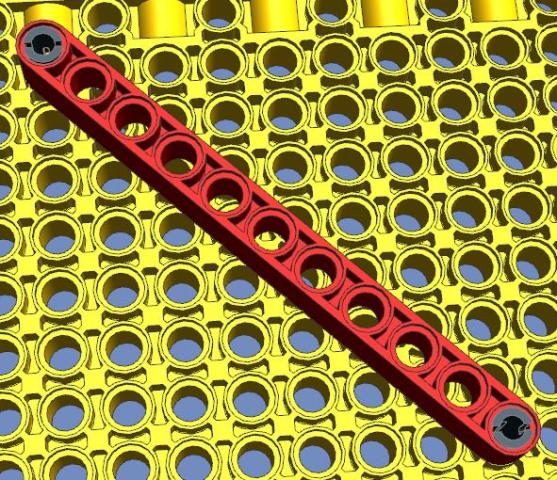
...and now the fit looks perfect! (after re-snapping the part properly)

BIG WARNING: When you insert a new part in LDCad, it inherits the orientation of last previously selected part... but also its scaling! This can be very misleading (I was caught by this one while preparing this tutorial!)
Lets start with this example: two pins placed 7 studs apart in two directions almost fit a diagonal beam 11 since 7²+7² ~ 10². (Just tested, it works well IRL!)
Distance of holes in the beam is exactly 200 ldu, while distance between pins (as measure by LDCad) is only 197.99 ldu. So we need to scale beam by 197.99/200 = 0.98995 (here it could also be calculated as 2x7²/10² !)
Select the beam and press "o" to use relative grid. The great thing is that in this mode, the part that was used as reference has a very simple "identity" matrix, all 0 except on the main diagonal where values are 1. These "1" are actually the scaling of the part in relative x/y/z directions.
Since the length of the beam is oriented along blue Z axis, we'll need to change that third "1" on matrix diagonal.
Right click again on the beam, choose properties, change Z scaling.
 scale3.JPG (Size: 42.59 KB / Downloads: 153)
...and now the fit looks perfect! (after re-snapping the part properly)
BIG WARNING: When you insert a new part in LDCad, it inherits the orientation of last previously selected part... but also its scaling! This can be very misleading
 (I was caught by this one while preparing this tutorial!)


